
Hips and shoulders are usually treated as separate problem areas. One gets a hip stretch, the other a shoulder roll, and each is expected to improve alone. Taiji takes a different view: the two joints belong to one line of support and movement running through the trunk, so what happens at one end changes the other.
This article explains that idea in plain terms and gives you three standing movements to feel it for yourself. It also covers where the evidence for Taiji and mobility is solid and where it is thin. The approach to tai chi for hip and shoulder mobility here is gentle, slow, and written for beginners with stiff or achy joints.
Why hips and shoulders get stiff together
Both are ball-and-socket joints. Both carry heavy limbs, and both lose range when they are not asked to move through it. A day spent sitting, with the hips folded and the arms reaching forward to a keyboard, a steering wheel or a phone, uses both joints in a narrow range and leaves their outer ranges unused.
The trunk connects them, and the body adjusts around whatever is stiff. When the hips move less, the lower back and ribs often take over some of the work, and the shoulders and neck tend to tighten as well. Walking shows how the pair normally cooperates: the opposite arm and leg swing together, and the ribcage turns slightly against the pelvis with each step.
That is why stretching one joint on its own often gives limited results. A hip stretch loosens the hip for a while, but the habit that tightened it, the way you stand and the way weight moves through you, stays the same. Taiji works on that habit by training the two areas to move together.
The kua: folding at the hip crease
The kua is the crease where the thigh meets the pelvis, the line that forms in your trousers when you sit down. Taiji teachers talk about “opening” or “loosening” the kua. For a beginner, this is easy to misread as pushing the knees apart or forcing the hip into a wider range. It means something quieter: the crease folds and softens so that your weight can drop through the legs instead of being held up in the lower back.
You can find it in about thirty seconds:
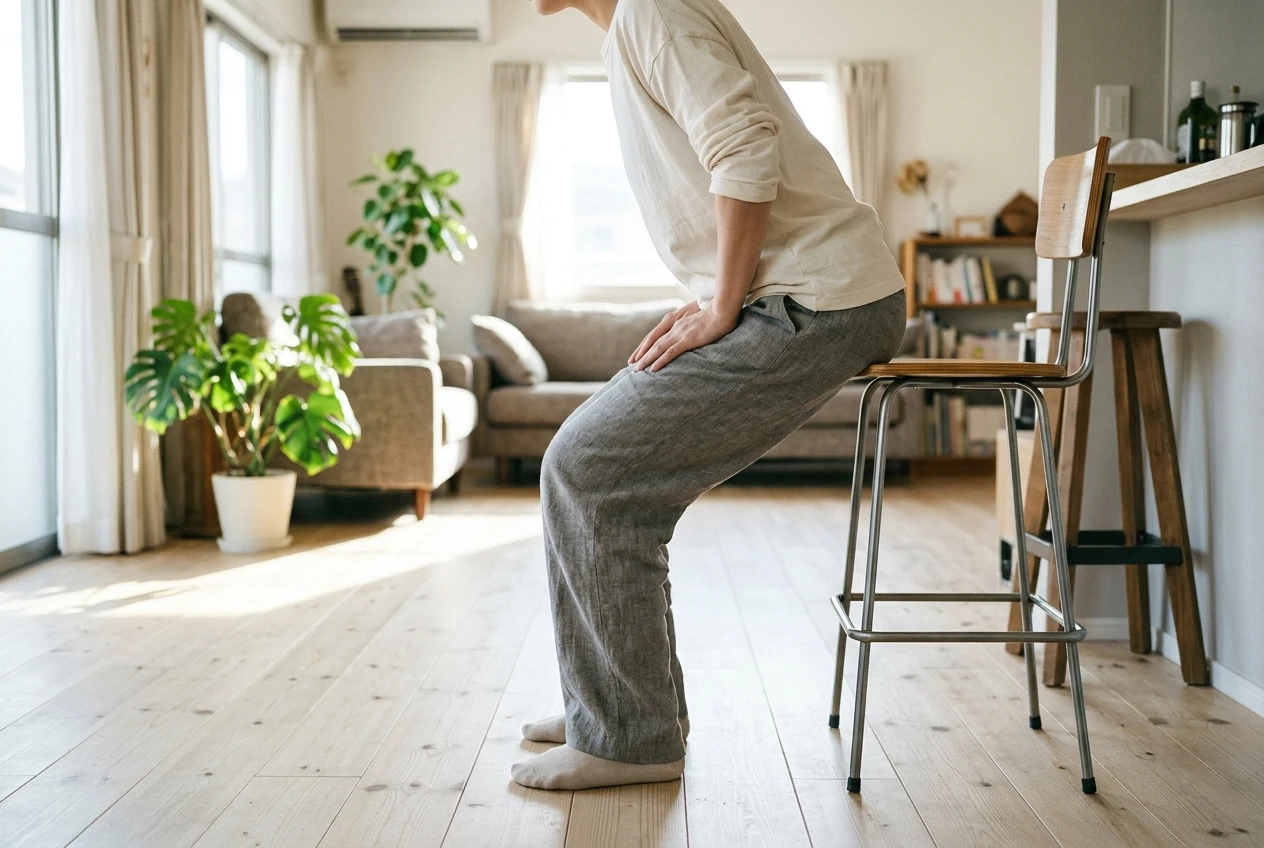
- Stand with your feet about shoulder width apart, toes pointing forward.
- Rest your fingertips in the creases at the front of your hips.
- Bend your knees slightly, then let your pelvis move back a little, as if you were beginning to sit on a high stool.
- Feel the creases deepen under your fingers while your upper body stays upright.
If your lower back arches or your belly pushes forward, you are bending in the wrong place. Make the movement smaller until the fold happens at the crease. A few centimetres of real folding teaches more than a deep squat done by tipping the trunk.
Do not force turnout. Your knees should point the same way as your toes. If you have to twist your feet or knees to look “open”, you have gone past what your hips can currently offer, and that is fine.
Letting the shoulders sink: what song means and does not mean
Song is the Taiji word most often translated as “relaxed”, but “loosened” is closer. It does not mean slumped. A song body is upright and supported, with the extra tension released.
In the shoulders, song means letting the arms hang from the shoulder blades by their own weight rather than holding them up with the neck and upper trapezius muscles. The elbows drop slightly, and the collarbones stay broad and easy. It does not mean pressing your shoulders down hard or collapsing your chest. Forced shoulders are just a different kind of tension.
Here the pairing becomes practical. Classical Taiji teaching describes “external harmonies”: the shoulder matches the hip, the elbow matches the knee, and the hand matches the foot. This is a tradition’s way of saying that the upper and lower body should move as one piece. You can test it. Fold at the kua and let your weight settle into your feet, and notice whether your shoulders drop a little without any effort. If your shoulders keep hitching up, check whether your hips are gripping.
Treat this as something to observe, not a rule to prove. Some people feel the link immediately, and others need several weeks of quiet standing before they notice it.
Three standing movements to feel the link
Stand with your feet shoulder width apart and your knees soft, near a wall or a sturdy chair you can touch if you wobble. Keep your breathing natural. Spend one to two minutes on each movement, and stay within a range that feels comfortable.
1. Gentle weight shift
Slowly move your weight onto your right foot, letting the right hip crease fold a little as you go. Your left foot stays on the floor and gets lighter, but it does not lift. Pause, then shift back through the middle and over to the left.
While you do this, notice your shoulders. Many people find one shoulder lifts or tightens as the weight moves. Let it sink back down each time. If you want a closer look at where weight actually goes during a shift like this, the post on where your weight really goes when you root in Taiji covers it step by step.
2. Slow arm float
Let your arms hang at your sides. As you bend your knees slightly and fold at the kua, let both arms float forward and up, palms facing down, as if resting on the surface of water. Stop at whatever height you can reach without shrugging, which for many beginners is hip or waist height, and that is a perfectly good range.
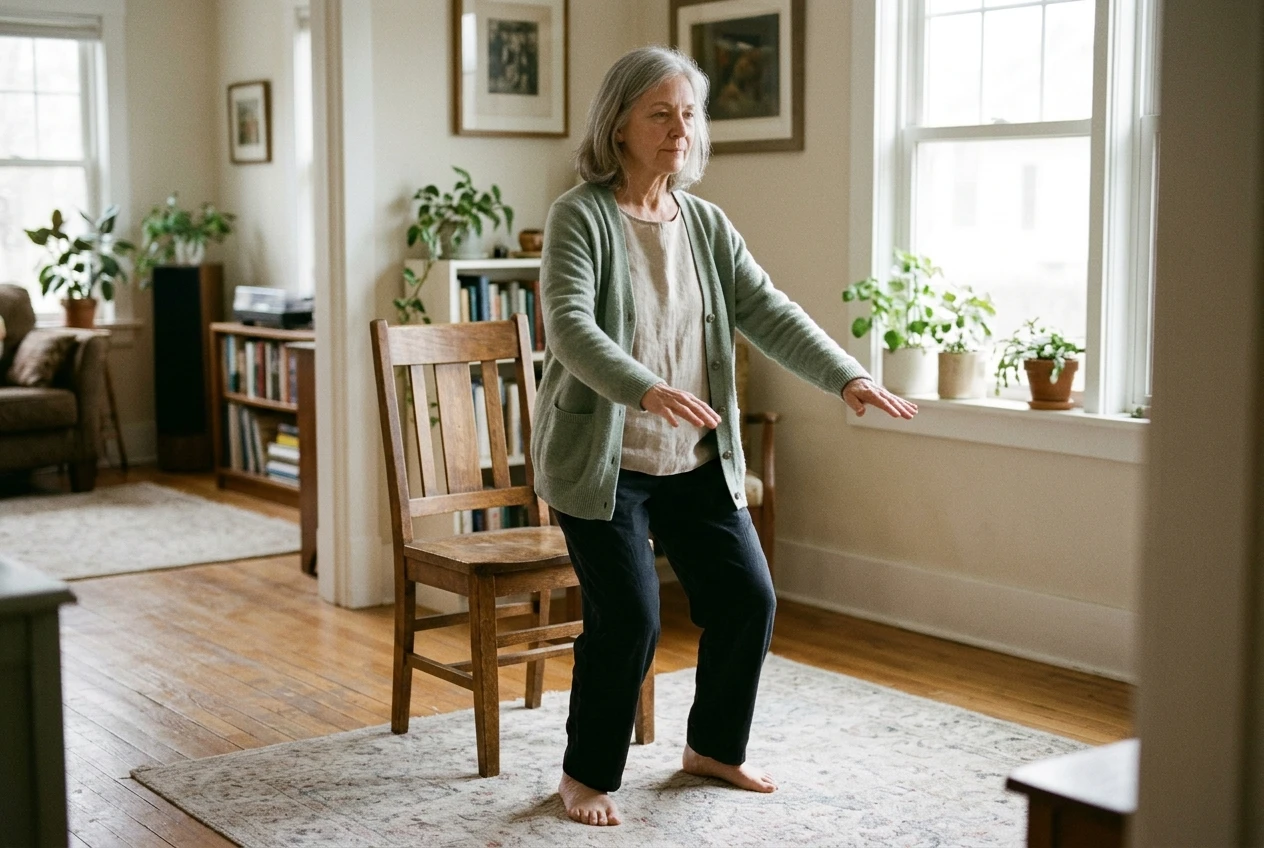
Then straighten the knees a little and let the arms sink back down, with the elbows leading the way down and the wrists following. The arms rise as the hips fold, and they lower as the legs straighten. If your shoulders climb toward your ears, lower the arms until they stop climbing. The goal is to feel the arms carried by the legs and trunk rather than lifted by the shoulders alone.
3. A small waist turn
With your arms hanging loosely, turn your whole torso a short distance to the right, then to the left, as though your trunk were a doorway swinging on its hinge. The turn comes from the waist and hips together, and the arms follow passively and may swing slightly. Your feet stay planted, and your knees keep pointing the way your toes point.
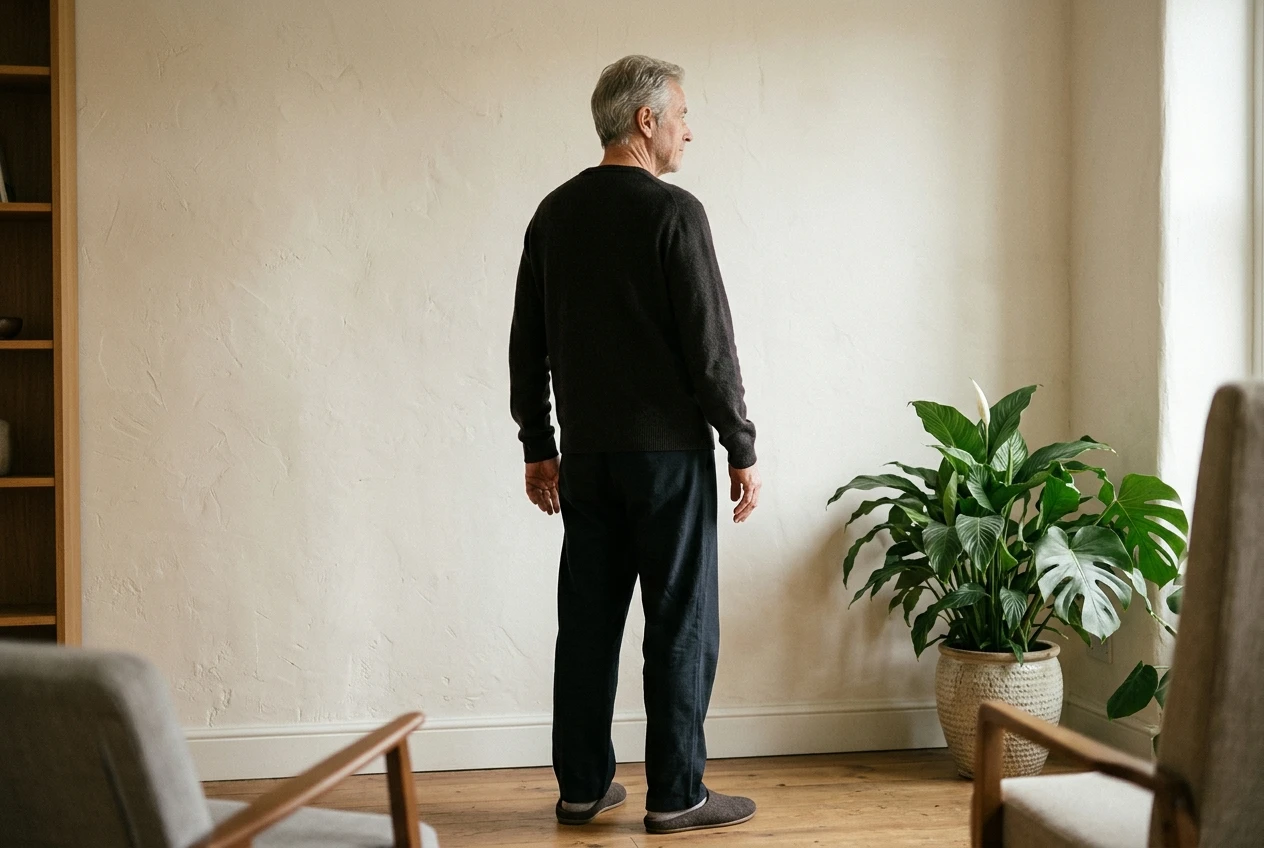
Keep the turn small, perhaps a quarter of what you could manage. At this size, the pelvis and shoulders turn almost together. As your range grows over weeks, you may notice the shoulders turning a touch more than the hips. That small difference is natural, and you do not need to chase it.
Keeping it kind to sore joints
Three things matter most: range, pace and when to stop.
Range. Work in the middle of what is available. If a movement reaches a pinch, a catch or a sharp edge, back off a little and stay where it feels easy. The range often grows slowly with regular practice, but forcing it tends to set you back.
Pace. Move slower than seems necessary. Slow movement gives you time to notice where you are gripping, and it puts less sudden load on a sore joint. A single slow shift of weight can take five or six seconds.
When to stop. A mild feeling of effort or warmth in the muscles is normal. Stop if you feel sharp or pinching pain in the hip or shoulder, tingling or numbness in an arm or leg, dizziness, or pain that lingers well after you finish. If you have had a joint replacement, a recent injury or surgery, osteoporosis, or any problem with balance, ask your doctor or physiotherapist which movements suit you before you begin.
If your knees complain during the weight shift or the fold, five small adjustments that make Taiji kinder on sore knees are worth reading before you do more. Keeping a chair within reach is also a sensible habit, and there is no shame in using it.
What research on Taiji and mobility does and does not show
The honest summary is that research on Taiji and the hip-shoulder link specifically is thin. The kua and the “shoulder matches hip” idea come from the tradition. I am not aware of trials that test them directly, so treat them as a way of paying attention, not as established science.
What the research does cover is related ground:
- Falls and balance. The Cochrane review of exercise for preventing falls in older people (Sherrington and colleagues, 2019) found that balance and functional exercise reduces falls, and that Tai Chi in particular probably reduces the rate of falls. Falls are not the same as mobility, but both depend on how well the hips and trunk work.
- Knee osteoarthritis. A randomised trial by Wang and colleagues, published in Annals of Internal Medicine in 2016, compared Tai Chi with a standard physical therapy programme for knee osteoarthritis and found Tai Chi was comparable for pain and function. That is a knee study, so it does not tell us about hips or shoulders.
- General overviews. The US National Center for Complementary and Integrative Health (NCCIH) publishes a plain-language summary, “Tai Chi and Qigong: What You Need To Know”, which describes the evidence as promising in some areas and uncertain in others, with many studies small or varied in quality.
None of this shows that Taiji will restore range in a stiff hip or an aching shoulder, and it does not replace treatment for a diagnosed condition. What it supports is that slow, regular, weight-bearing movement is reasonable and generally safe for many adults, provided it is adapted to the person.
Fitting it into a week
Short and regular is easier to keep than long and occasional. Here is one way to spread the three movements across a week:
- Monday, Wednesday, Friday: two to three minutes each of the weight shift, arm float and waist turn.
- Tuesday and Thursday: one minute of standing quietly with your hands on your hip creases, just noticing how your weight sits.
- Weekend: one rest day, and one day to repeat whichever movement felt best.
If you want help making the habit stick, how to build a daily Taiji or Qigong habit by starting smaller than feels worth it goes into the practical side.
The chair practice sits alongside this. On days when standing is tiring, or when you are at a desk and the shoulders are what bother you, four circular Qigong movements for shoulder tension at the desk work from a seat. The standing movements here train the hip-shoulder link, and the chair movements give the shoulders attention in the middle of a working day.
One thing to try this week
Stand for two minutes. Place your fingertips in your hip creases, fold gently at the crease, and let your shoulders sink without pressing them down. Then notice whether one side feels easier than the other. That difference is useful information, and you can simply watch it for a few days before changing anything.
If you would like a guide to follow beyond this, the post on five books for a small Taiji and Qigong shelf describes what each book is good for, so you can choose one that fits.